
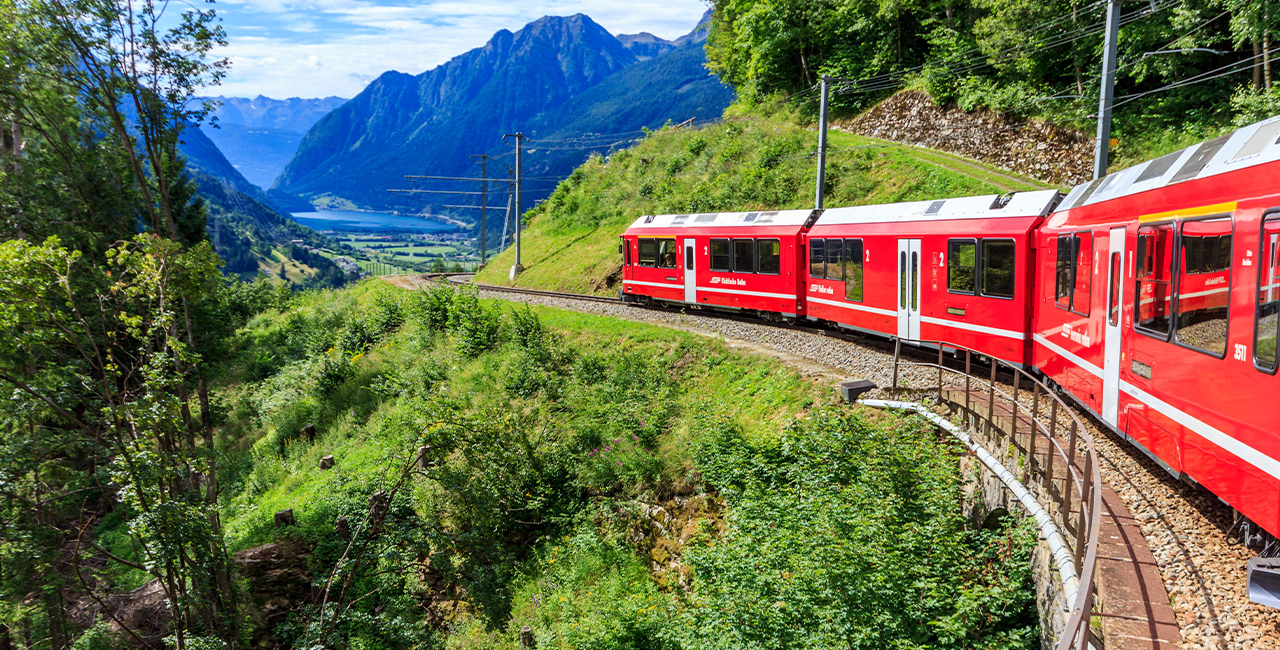
Tourists are flocking to Europe in record numbers, and many of them are opting to see the continent from the ground, rather than tens of thousands of feet in the air. It isn’t hard to see the appeal of interrailing: the feeling of adventure, the boots-on-the-ground traversal through country after country, where you’re constantly exposed to rich cultural experiences and friendly faces at seemingly every turn.
Having been interrailing a couple of times myself, I think I’m now experienced enough to share my very own ultimate guide to interrailing. Here, I want to discuss the essential aspects of planning you’ll need to think through, the common pitfalls and mistakes for new travellers, and easy adjustments I made that made my adventures that much more convenient, satisfying, and fun. So, without any further ado, let’s jump in.
Deciding Where to Go
First things first, before you do anything, you’ll need to have a good idea of where exactly you want to go. If you want to get the most out of your interrailing adventure, I’d always suggest visiting countries you’ve never been to before. Those areas of previously untapped cultural potential always feel the most explosive and surprising when you’re visiting for the very first time.
When you’re choosing exactly where you’re going, you should also, of course, consider the route you’re going to take. Try to find complementary locations that you can link together with routes, as it’ll prevent inefficient travel days, where you might have previously ended up going hundreds of miles out of the way to visit one location, only to come back on your own to go to your next destination.
Doing this will mean that you’re able to spend less time on the tracks and more time on foot in the villages, towns, and cities that you want to visit.
Sorting the Logistics
There’s a lot of talk online about how stressful and complicated the whole interrailing process is, and though it isn’t exactly a walk in the park, it is actually fairly straightforward. Start by buying your pass – buy the one you want based on how many travel days you will have – then do not activate this pass until the morning of your first travel day.
You can plan your official route on the Interrail app or website, and see clearly which connections you need to make. I’d recommend changing the filter for ‘time after arrival’ to be at least 15 minutes, just to make sure you aren’t panicking through European train stations.
While you’re looking at these connections, you’ll soon realise that while most of your tickets are covered by your Interrail pass, some are not. I don’t know exactly why this is, but it just seems to be more of a thing in Eastern Europe. Either way, you’ll need to pay for some of your tickets.
The most annoying thing about buying tickets is that most of them aren’t available until a few weeks prior, so you’ll need to set a reminder to buy them.
Once you’ve got your tickets sorted, you’ll need to organise your accommodation. You can find affordable accommodation in pretty much every European city, so you shouldn’t struggle if you book a few months in advance. My one piece of advice here is that you book some sort of Airbnb every few stops, just so you can keep on top of laundry.
Packing the Essentials
So, now you’ve got your route and tickets sorted, it’s time to splurge some more cash on the essentials you’ll need to take with you. First and foremost, you’ll need a big backpack. Anything under 40 litres won’t be enough, especially if you’re bringing a lot of clothes.
 After that, you’ll need your toiletries, clothes, and everyday essentials. Bring at least two powerbanks, as although most trains have charging facilities, not all of them do. The last thing you want is to be stuck on a train for 5 hours with a dead phone.
The two main comforts I would highly recommend to any interrailer are an e-reader (like a Kindle) and a proper camera. An e-reader is perfect for reading on long journeys, and saves you a lot of packing space – especially if you’re a fan of longer books.
A camera, meanwhile, is just a great way to document the trip with more deliberate photos, while also taking you away from your phone and keeping you present. I still regularly look at all of my photos that I’ve organised in personalised photo books, and the photos burst off the page more because they were taken on a real camera. They have more depth, clarity, and are generally framed better, because when I took them, I was in photographer mode, instead of just spamming a load of photos on my phone.

Soaking it All in
My last piece of advice is to give yourself enough time in each location to soak it all in. I’d recommend at least 3 days in each place, but this may vary depending on the location. I was able to see and experience most of what Lake Bled had to offer in 2 days, whereas I could’ve easily spent another couple of days exploring Berlin.
Try not to be too strict with itineraries and honey-pot tourist spots. Give yourself a few hours each day to wander around and make discoveries of your own; the situations and events that occur as a result often end up being the most memorable.

Darcy Fowler has dedicated a lot of time to travelling around countries in Europe and Asia. She is determined to provide interesting and insightful content with the hope of inspiring others to broaden their horizons. Darcy has a big ambition to establish herself in the world of home travel blogging.